Steps for the Activity
-
In this activity, we're going to use two new languages to help us make our webpage look extra great. Don't worry if you've never heard of them before: this is a beginner lesson that will give you the tools you need to try more challenging projects!
- HTML: HTML stands for HyperText Markup Language, and it gives our webpage structure. In HTML, we use <tags> to tell the browser how to format our content. Everytime we start a tag, we end it with the closing </...> tag, like this: <h1> My Website </h1>.
- CSS: CSS stands for Cascading Style Sheet, and it gives our webpage style. We can change the colours, text, and shapes on our page using CSS. In this activity, we are using a CSS that is already built for us, called Bootstrap. This saves us a lot of time typing, so we can get back to designing!
- HTML: HTML stands for HyperText Markup Language, and it gives our webpage structure. In HTML, we use <tags> to tell the browser how to format our content. Everytime we start a tag, we end it with the closing </...> tag, like this:
-
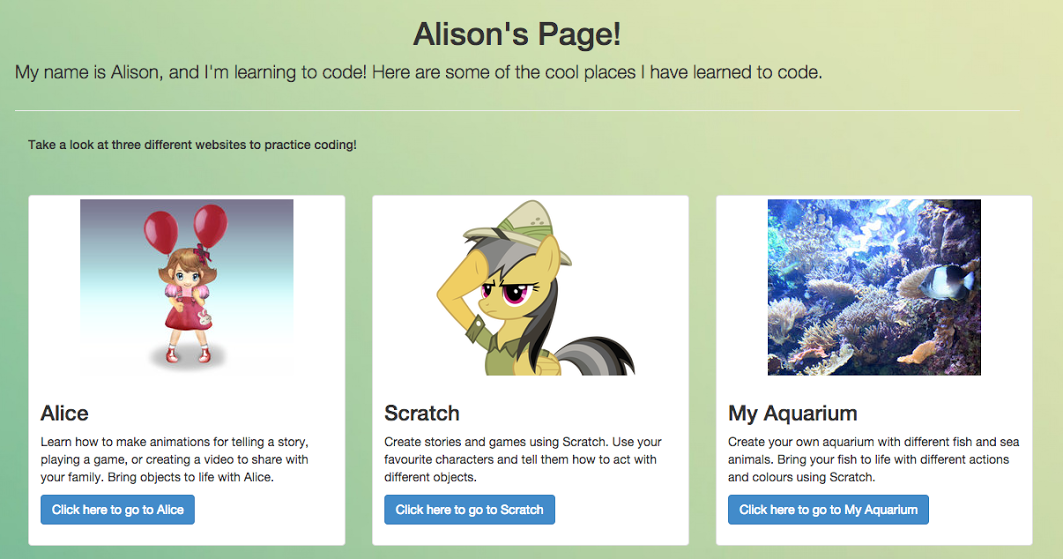
Let's get started by checking out a sample page. The girl who built this page wanted to showcase some of the websites that helped her learn to code. You can do this too, or you can link to other websites you like.
-
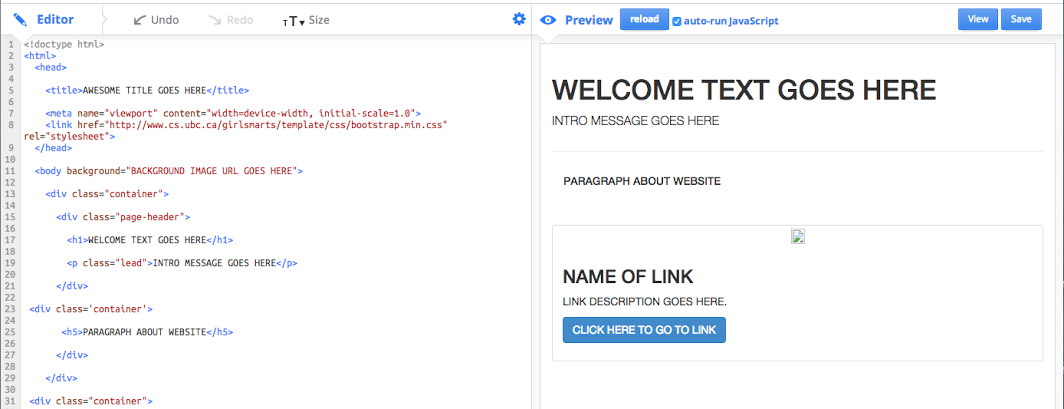
Let's get set up. Open Mozilla Thimble and delete the text on the left hand side.
First, let's copy this template and paste it onto our Thimble web platform. You can copy the template code by opening the link, right-clicking on the page and selecting "View Page Source", and then pressing CTRL+a (or CMD+a on a Mac) to select all and CTRL+c (CMD-c) to copy. Then, switch back to your Thimble tab (and make sure all the text is deleted from the left hand side), and press CTRL-v (CMD-v) to paste.
It's not cheating! Lots of web designers build off of existing templates in order to continuously improve, and to save time.Try changing some of the text in CAPITALS and see what happens.
Hints:
Be sure that the first line <!DOCTYPE HTML> is on line number 1.
The <title> refers to the text that shows up on the browser tab (top of your screen).
-
Now let's change the background of our page. Our first option is to copy-paste an image link into our background tag:
<body background="BACKGROUND URL GOES HERE">
You can use any online image here. Right click the image you want to use, click "Copy Image URL".
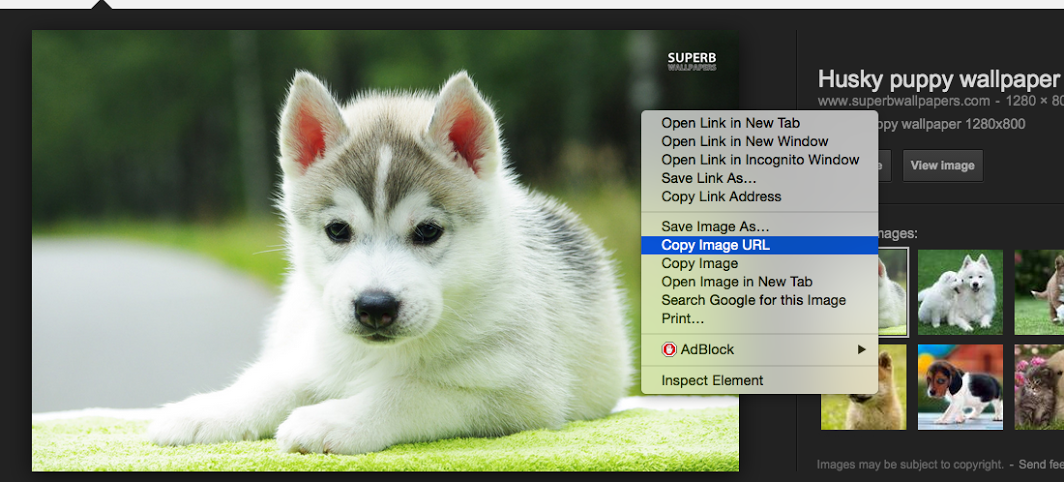
Now paste the link where the BACKGROUND URL GOES HERE text is. You can either right click and select Paste, or use Ctrl+V on your keyboard.
Hints:
Be sure that the link is pasted between the quotation marks.
You can find the background image from the sample page here.
Alternatively, you can just change the colour of the background. Change the <body background=""> tag to:
<body bgcolor="">
Now try typing any colour you can think of in between the quotations, like "aquamarine"! For a full list of colours to choose from, click here.
-
Great! Now take some time to replace all the placeholder text with your own personal messages! You should replace: "AWESOME TITLE GOES HERE", "WELCOME TEXT GOES HERE", "INTRO MESSAGE GOES HERE", and "PARAGRAPH ABOUT WEBSITE" for now. We'll learn how to edit the tile content in the next step.
Hint: Refer back to the sample page in Step 2 if you are not sure what to write. Remember that you should never put personal information online (i.e. your photo, full name, contact information, etc.)
-
Now let's build our tiles. These are the boxes that hold our website picture, title, description, and link. The template has one preset tile; we want to duplicate it so we have three. The tiles are set up in a grid, and each new tile means one more column within the same row. So, we need to copy only the column code and paste it twice within the row. The column code starts with <div class="col-md-4"> and ends with </div>. See the hints below for more help.
Highlight and copy (right click Copy, or Ctrl+C) the column code:
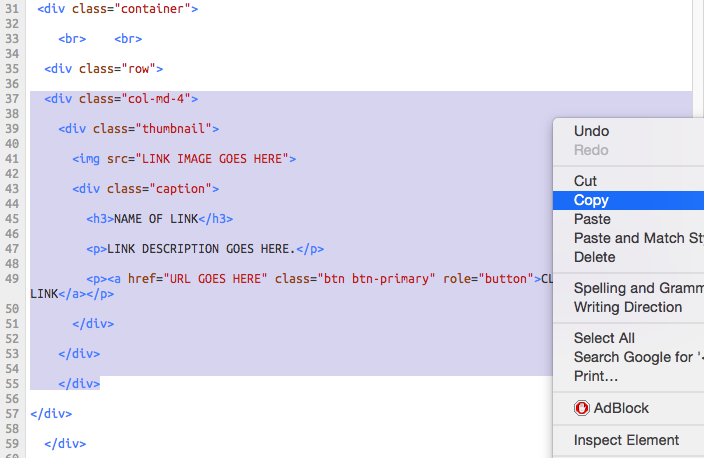
Hint: If you click on the opening <div ...> (division or section) tag, Thimble helps you find the closing </div> tag by highlighting it in orange.
Paste (right click Paste, or Ctrl+V) the column code in the space directly below.
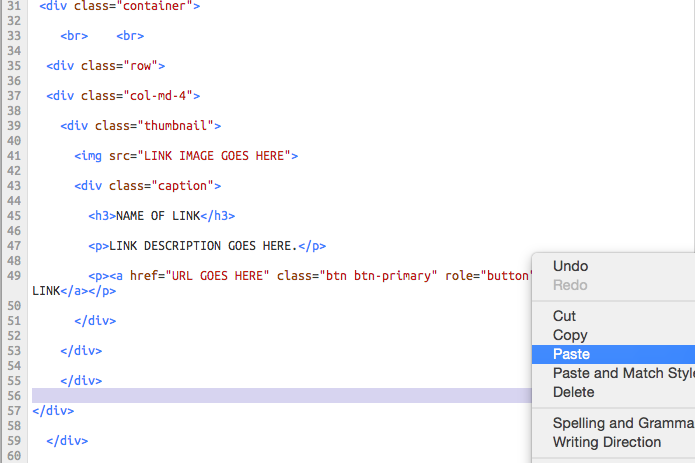
Paste the column code again (right click Paste or Ctrl+V) directly below the second column, for a total of three columns!
Note that you are pasting within the 'row' division, which means your columns are being spaced out within a single row and will appear horizontal on the actual webpage. However, on your Thimble display, it will look vertical like this: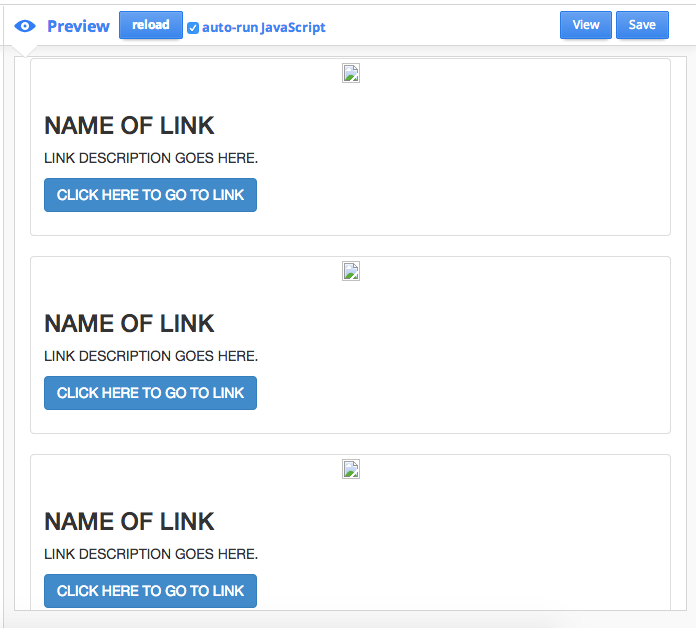
-
Now let's fill in our tiles! First, decide on the three websites you'd like to link to. I am going to choose three great 'Learn to Code' sites that I use.
First, you'll need an image or logo to go in the <img src=""> tag. You can right-click the logo on the website and Copy Image URL, then paste it in the tag between the quotations.
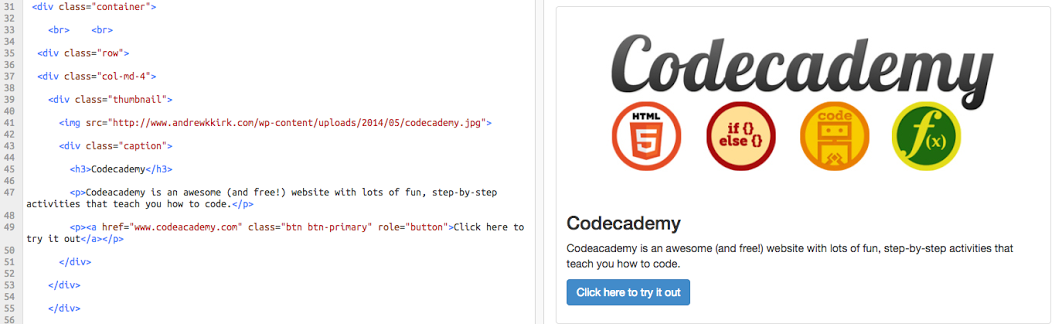
Next, you'll fill in the caption information under the <div class="caption"> section. Fill in the name of the website by replacing NAME OF LINK between the heading (<h3>) tags, and write a brief description by replacing LINK DESCRIPTION GOES HERE between the paragraph (<p>) tags. Finally, let's turn the button into a working button: paste the website URL (link) in the <a href=""> tag, and change the button text if you like.
-
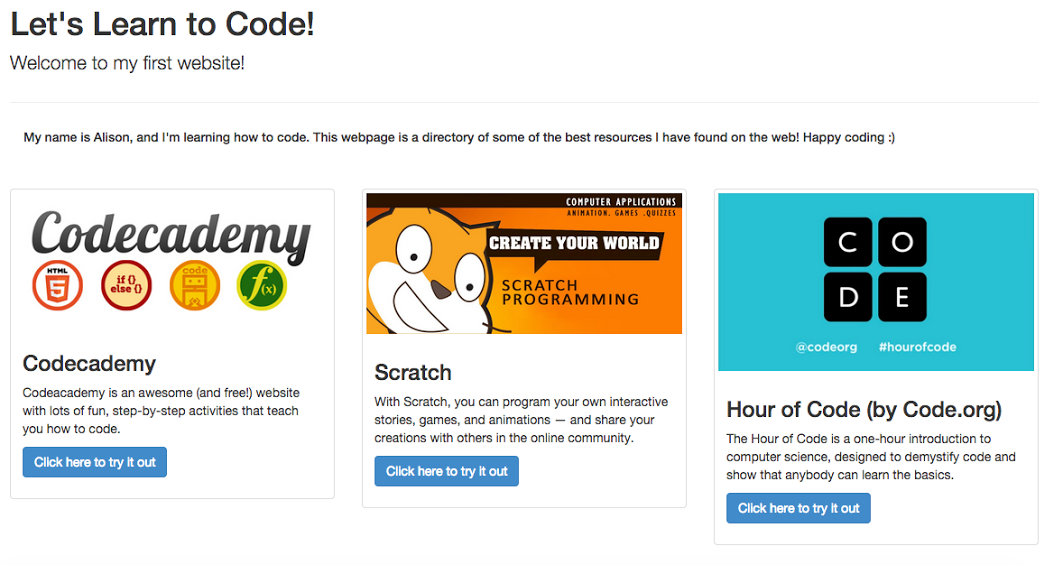
Repeat step 7 for your remaining two tiles. How did you do? You should have a completely filled-in webpage! Here's what mine looks like:
-
Congratulations! You built your first website!
Want to continue working on your website later? Ask your parents for their permission to make an account on Thimble. Have them check out our Stay Savvy page for more information on internet safety.
Once you have permission from your parent(s) to make an account, you can click on "Join Webmaker", then enter your email address. If you don't have an email, ask your parents if it's okay to use theirs. With an account, you can save your page by clicking the "Save" button on the right-hand corner of the screen. Fill in a name for your website, add a description if you like, and be sure to de-select the "Searchable on webmaker.org" checkbox. What does that step do? Well, it makes sure your page won’t be found by strangers on the public internet. But, when you click save, Thimble gives you the links to view your page, edit your page, and share your page. Only people with the link can access your website, so you can show your parents or teacher what you’ve been working on!
Now what?! Try out some of the challenge activity extensions below, or head to one of the great resources I linked to in my webpage sample for some more fun exercises. They were Codecademy, Scratch Programming, and Hour of Code with Code.org.
CHALLENGE: Extension Activities
- Try adding another row with three more columns on your webpage and link to even more webpages and resources!
- Feeling ambitious? Here's a secret: most of this activity was built off of reuseable code bits from our CSS framework called Bootstrap. Bootstrap has a ton of other components available that can make your webpage even more exciting. Check out the available components here, then try to add some of them to your page!