 Figure
13. Level 0 Editing
Figure
13. Level 0 EditingNext: Building new faces. Previous: Animating the face with the jaw.
Figure
13. Level 0 Editing
In Figure 13, two control points at Level 0 have been selected (highlighted
in yellow) and have been moved to the side to produce the surface in Figure
14 (the same action was also performed on the left side). Compare with
Figure 10, the neutral face to see the actual change.
 Figure
14. Broadened Mouth
Figure
14. Broadened Mouth
One of the advantages to using a hierarchical spline is that animations
layer in a sensible way. If the jaw of the edited figure is rotated, the
face deforms in a reasonable way (Figure 16 & 17).
 Figure
16. Animating Changed Face
Figure
16. Animating Changed Face
 Figure
17: Rendered.
Figure
17: Rendered.
By layering the actions, the basic animation provide by the jaw bone can be enhanced. Below is a lip snarl created by altering 3 points at Level 1.
 Figure
18. Level 1.
Figure
18. Level 1.
Change 3 points (highlighted in yellow) at Level 1 to create the snarl. Note that a user typically works with all the surface showing rather that at the resolution being edited.
 Figure
19. Curl the lips.
Figure
19. Curl the lips.
 Figure
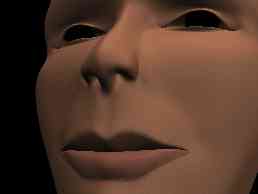
20. Rendered Neutral Face.
Figure
20. Rendered Neutral Face.
 Figure
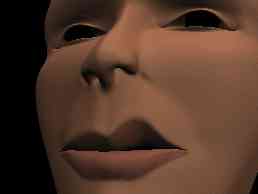
21. Rendered Snarl.
Figure
21. Rendered Snarl.
This action was obtained by moving 3 points (at each corner of the mouth) at Level 1.
 Figure
1. Corner pull.
Figure
1. Corner pull.
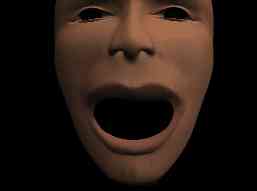
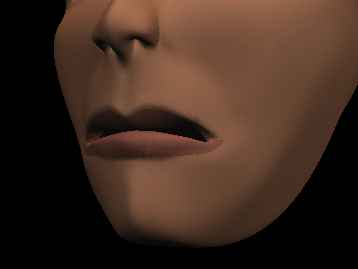
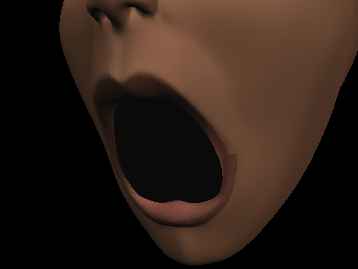
Below the mouth is half-opened. Compare this face with the neutral faces above.
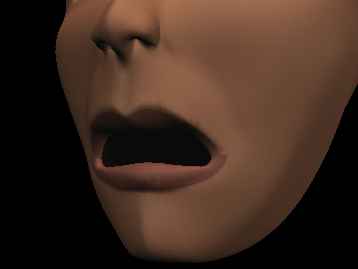
The neutral face with the mouth full-open.
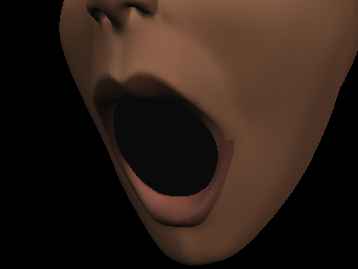
The "corner-pulled" face with the mouth full open. The hspline allows the facial action to be applied independently of the position of the jaw. This really speeds up animating expresssion.
The inner eyebrows are brought down into a frown by moving 3 points at level 1.
 Figure
1. Altered Level 1.
Figure
1. Altered Level 1.
These changes alter the brow at all the finer resolutions.
 Figure
2. Full resolution.
Figure
2. Full resolution.
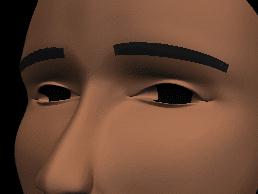 Figure
3. Rendered Neutral Brow.
Figure
3. Rendered Neutral Brow.
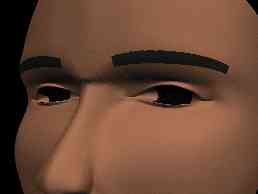 Figure
4. Frown.
Figure
4. Frown.
Next: Building new faces. Previous: Animating the face with the jaw.