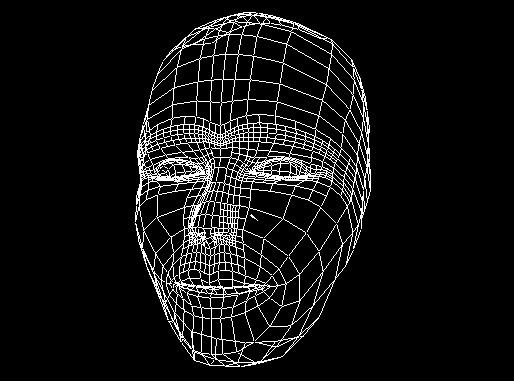
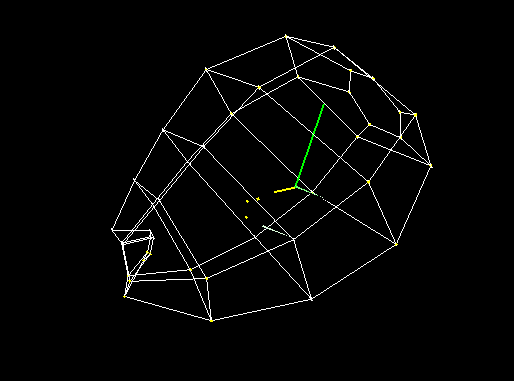
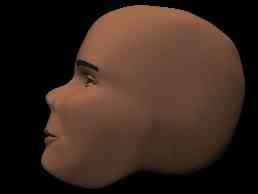
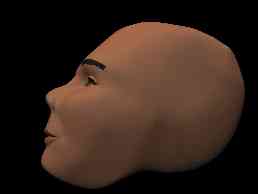
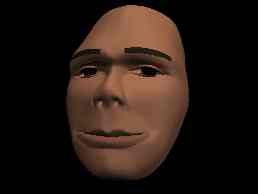
 Figure
1. The Neutral Head.
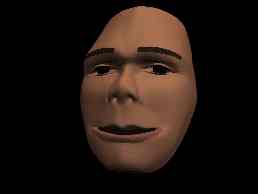
Figure
1. The Neutral Head.Previous: Adding Facial Actions
The following exercise shows how a few manipulations of the surface can alter the head shape. A significant advantage to hsplines is that the jaw animation of the head does not have to be re-assigned.
Figure
1. The Neutral Head.
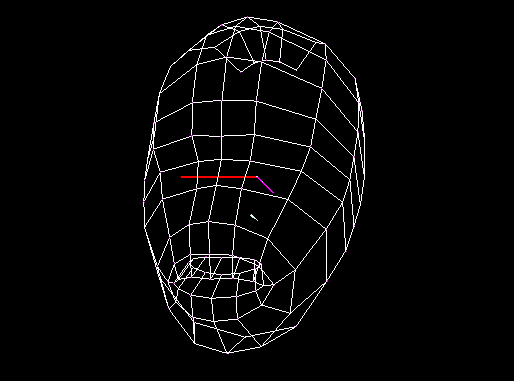 Figure
2: Level 1 of Neutral Head
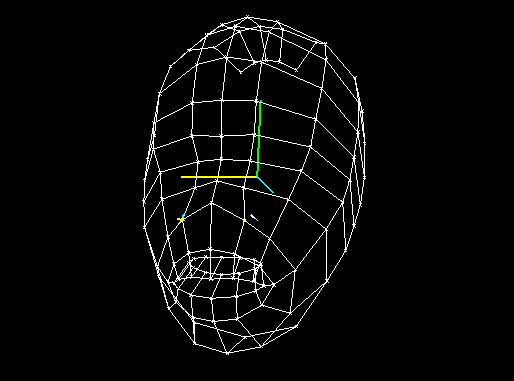
Figure
2: Level 1 of Neutral Head
The first step in the new character is to raise and broaden the nose. To do this, 3 points from Level 1 are repositioned as shown in Figure 3. A user will typically edit a shaded version of the full resolutions surface (see the figures at the end of this page) rather than editing a wire-frame low-res display.
 Figure
3. Altering the nose.
Figure
3. Altering the nose.
 Figure
4: The new nose!
Figure
4: The new nose!
The goal is to produce a head with a decidedly neanderthal cast, so the next step reduces the size of the head and shifts it back and down. 18 points at Level 0 are used to do this.
 Figure
5. Original Level 0
Figure
5. Original Level 0
 Figure
6. Original profile
Figure
6. Original profile
Shifting these points gives the characteristic sloping brow and small brain-case of the lower primates.
 Figure
7: Altered profile.
Figure
7: Altered profile.
To create the brow ridge, 5 points at level 1 are brought foward and down.
 Figure
8. Brow brought out.
Figure
8. Brow brought out.
Now widen the jaw.
 Figure
9. Widen the jaw.
Figure
9. Widen the jaw.
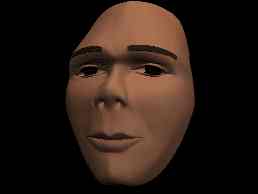
Now thin out the lips.
 Figure
10. Thin the lips.
Figure
10. Thin the lips.
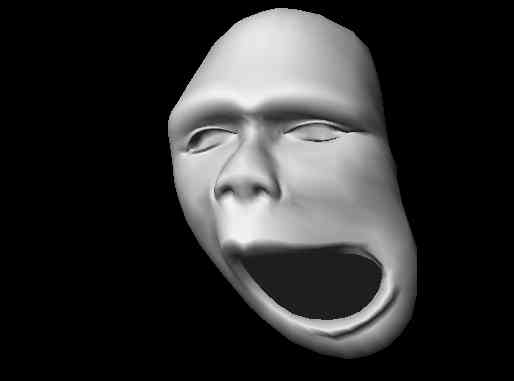
These last couple of images are screen captures of the editor in action as the jaw bone of the above surface is manipulated in various ways. For interactive work, each bicubic b-spline patch is represented by a single n-sided polygon (the extra sides close the cracks between regions of different resolution), but since the user typically has detail exactly where it is needed, the surface still looks pretty good.
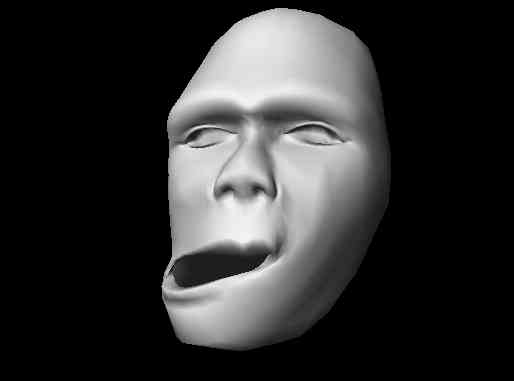
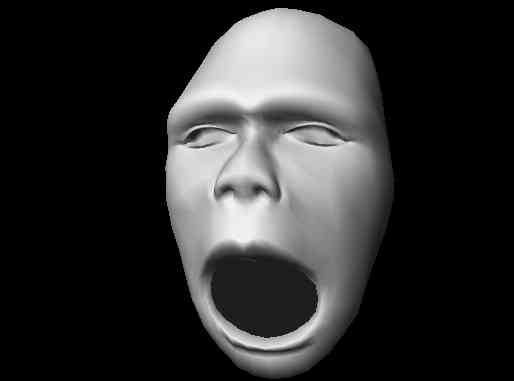 "You
want it by WHEN?"
"You
want it by WHEN?"
 "One
more for road!"
"One
more for road!"
 "One
too many..."
"One
too many..."
Previous: Adding Facial Actions