The PbO Eclipse Plugin is an Eclipse plugin developed to help the PbO developer develop software in the Eclipse Indigo IDE. The plugin offers typical features that you would expect from an Eclipse IDE: syntax highlighting, source code folding and an outline view for PbO constructs.
The current supported languages are C and C++. The installation of the plugin occurs in four easy steps:
If the plugin is already installed and you just need to update the plugin, follow this easy step:
This guide will also show you how to set up an example hello world project which will go through the steps of
Skip to the FAQ
If you've already installed the plugin, and just need to do an update, click here
The only currently support version of Eclipse is Eclipse Indigo which can be found here
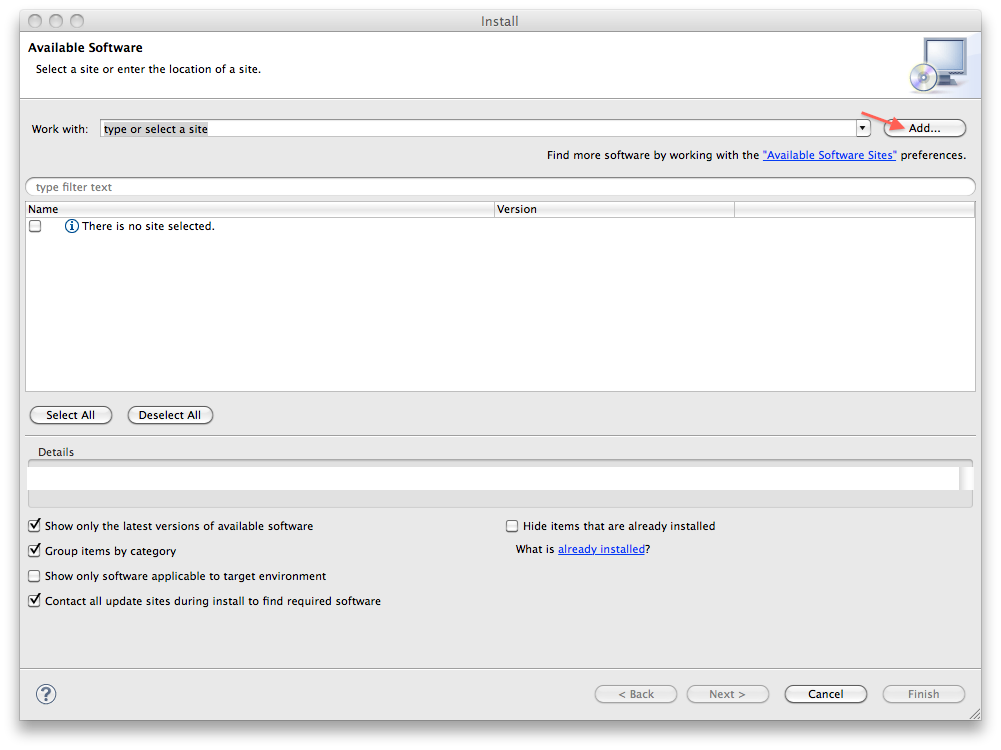
In the Eclipse IDE, go back to Help -> Install New Software. Click the Add... button to open the dialog to specify a new package site.
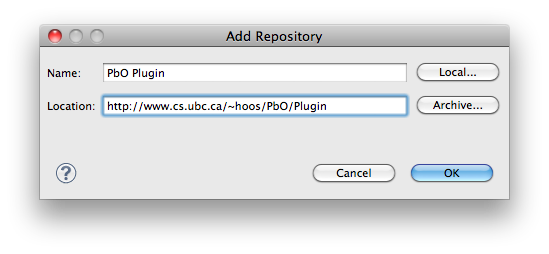
Under "Name", enter "PbO Plugin", and under "Location" enter "http://www.cs.ubc.ca/~hoos/PbO/Plugin" like shown and click OK
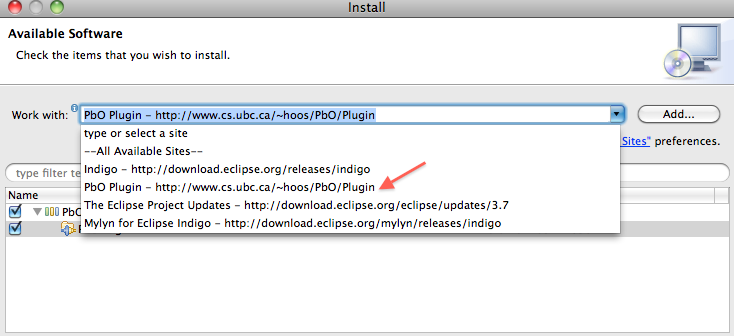
You should now have a new update site available from the drop down menu. Select the "PbO Plugin" update site
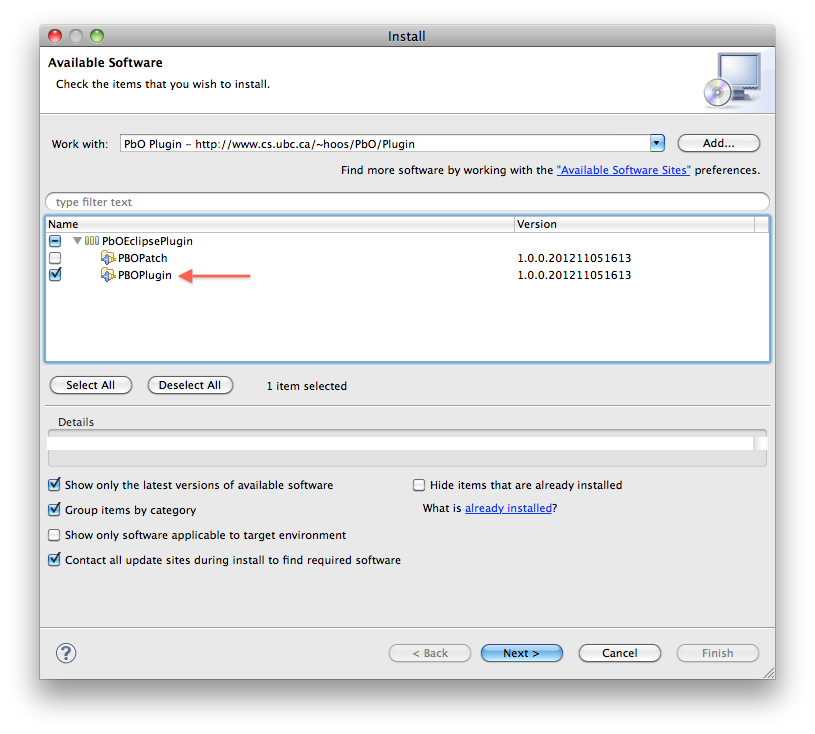
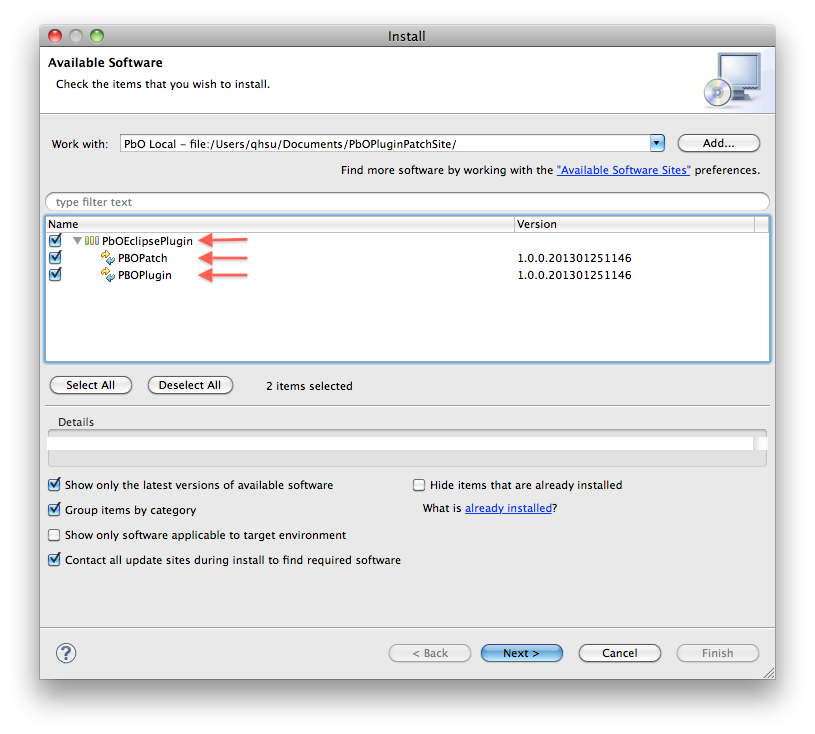
Check the "PbOPlugin" box under the PbOEclipsePlugin category and click Next
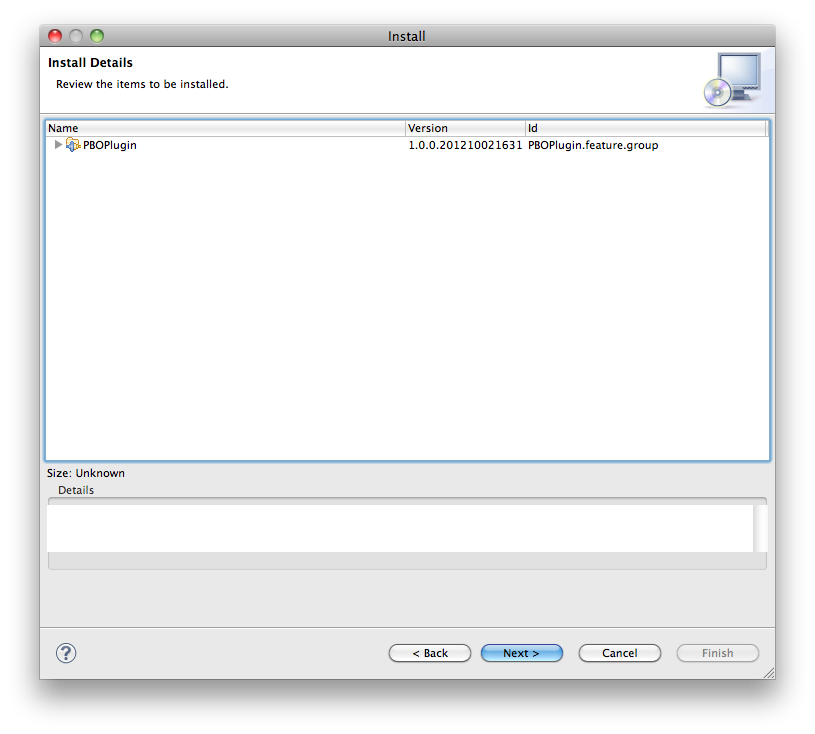
Click Next on the Install Details screen
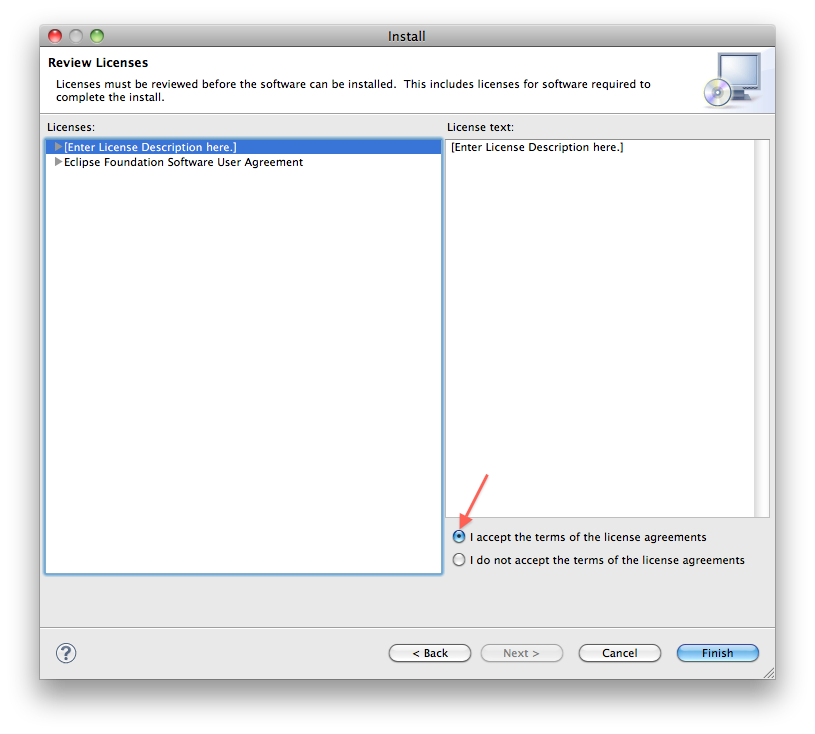
Click "I accept the terms of the license of the agreement" and click Finish
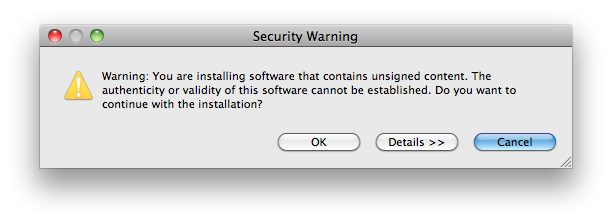
Click OK on the security warning
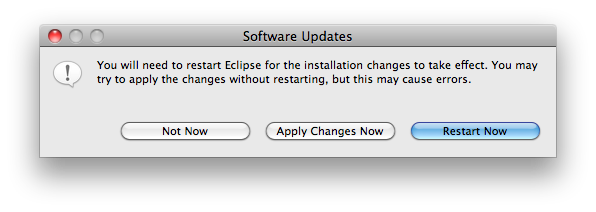
You will then have to restart Eclipse to load the plugin
Once again, navigate to Help->Install New Software... and select the PbO Plugin update site
Open the PbOEclipsePlugin category and click the PbOPatch box and follow the installation steps just like above.

Once the plugin has installed successfully, you are now ready to write your very first PbO-C or PbO-C++ Program
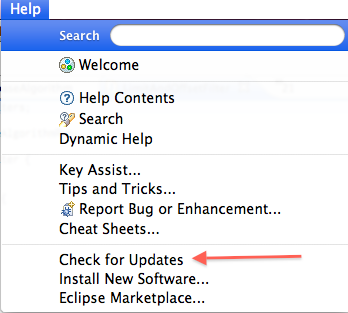
Updating the plugin is a very simple process. From the Help menu, clicking on "Check for Updates" will start the process.
Unlike when installing the plugin for the first time, where both plugin features must be installed in separate steps, both plugin features can be installed at the same time
Click next and accept the agreement as before
Click next and click OK on the security warning
Restart Eclipse when the prompt appears and you're done
This tutorial assumes that you've decided to work in C. It will then guide you through the steps needed to create your very own Hello World PbO C project.
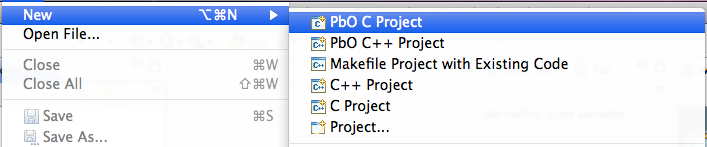
Creating a PbO C Project has the same first step as creating a normal C project
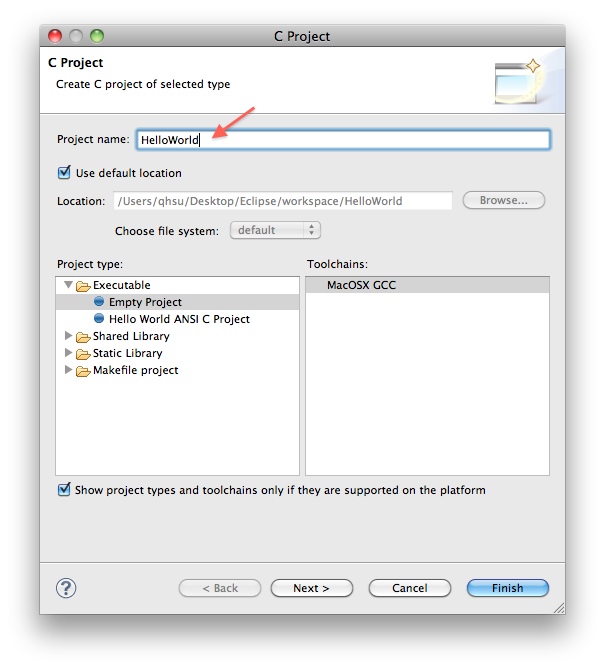
Name the project HelloWorld and click Finish
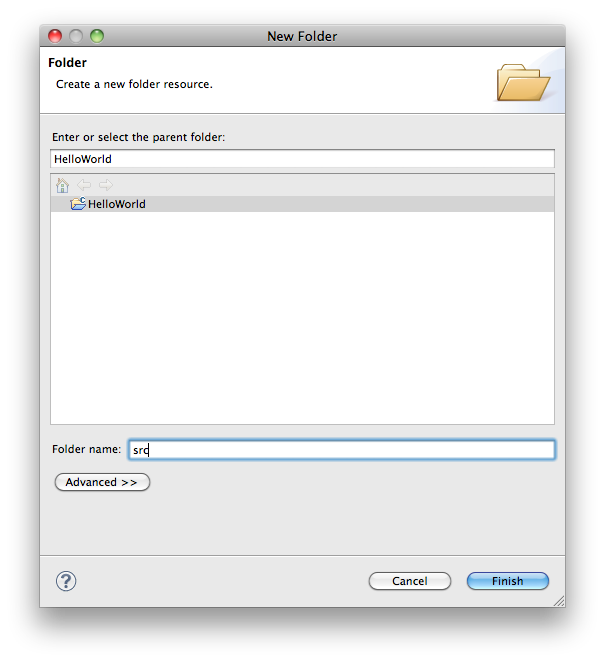
Create the "src" folder to hold the project's source files
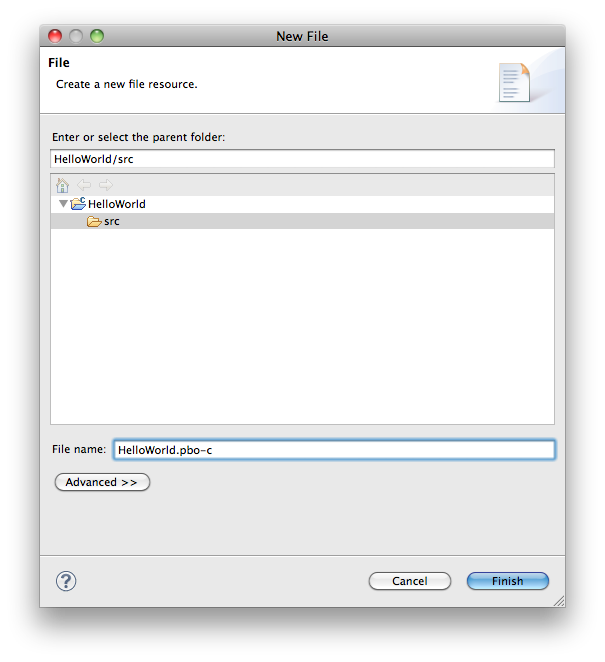
Once the src folder has been created, we can start adding PbO-C sources to the project
Create a file under src called "HelloWorld.pbo-c"
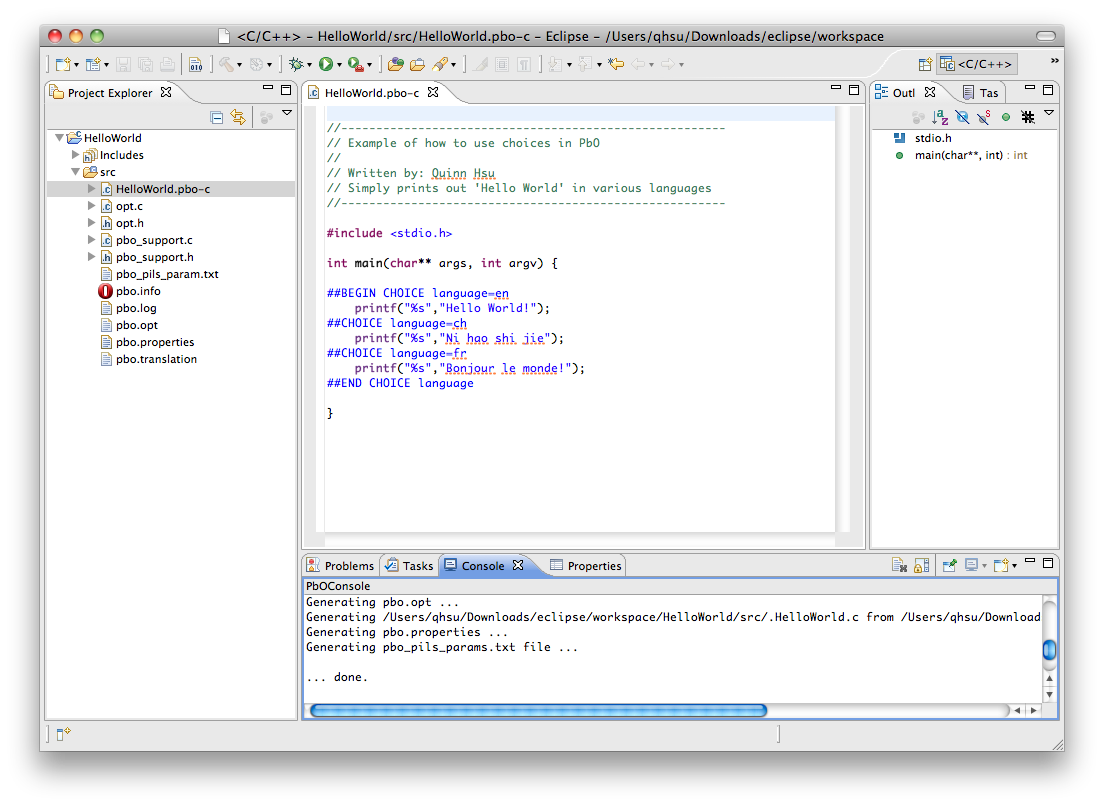
Open the new source file and enter:
//-------------------------------------------------------
// Example of how to use choices in PbO
//
// Written by: Quinn Hsu
// Simply prints out 'Hello World' in various languages
//-------------------------------------------------------

#include <stdio.h>

int main(char** args, int argv) {

##BEGIN CHOICE language=en
	printf("%s","Hello World!");
##CHOICE language=ch
	printf("%s","Ni hao shi jie");
##CHOICE language=fr
	printf("%s","Bonjour le monde!");
##END CHOICE language

}
This is the Hello World C example from the PbO website. Once entered, your editor should look like this:
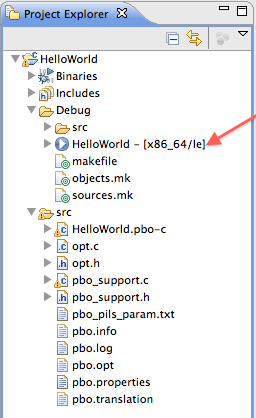
Building this simple project is easy, just click on the build button

If the project built successfully, then a new Debug folder should have been created. Inside the Debug folder should be the Hello World executable
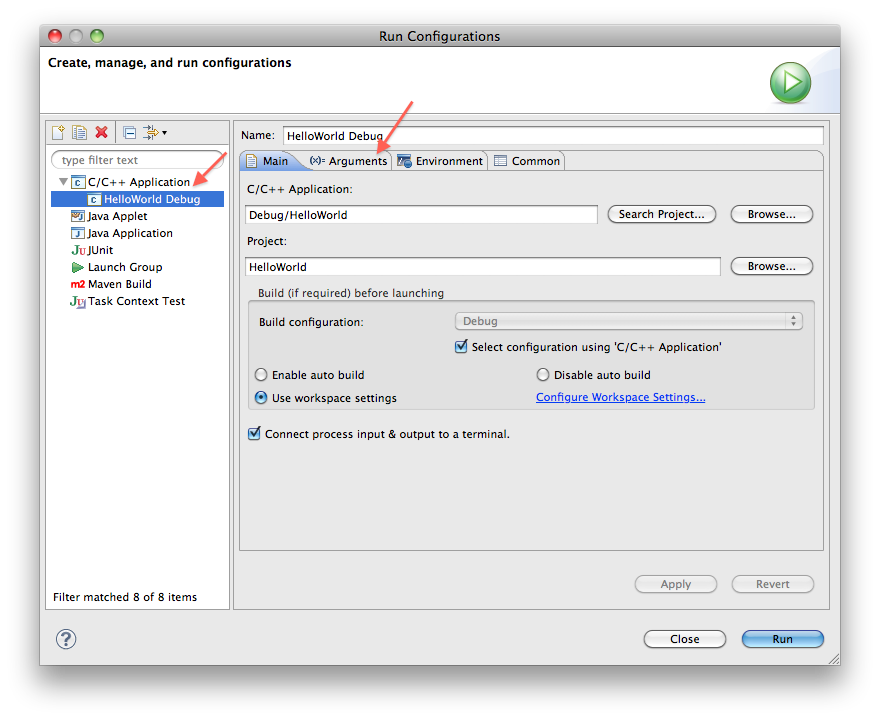
Click on the Run dropdown menu and click "Run Configurations"

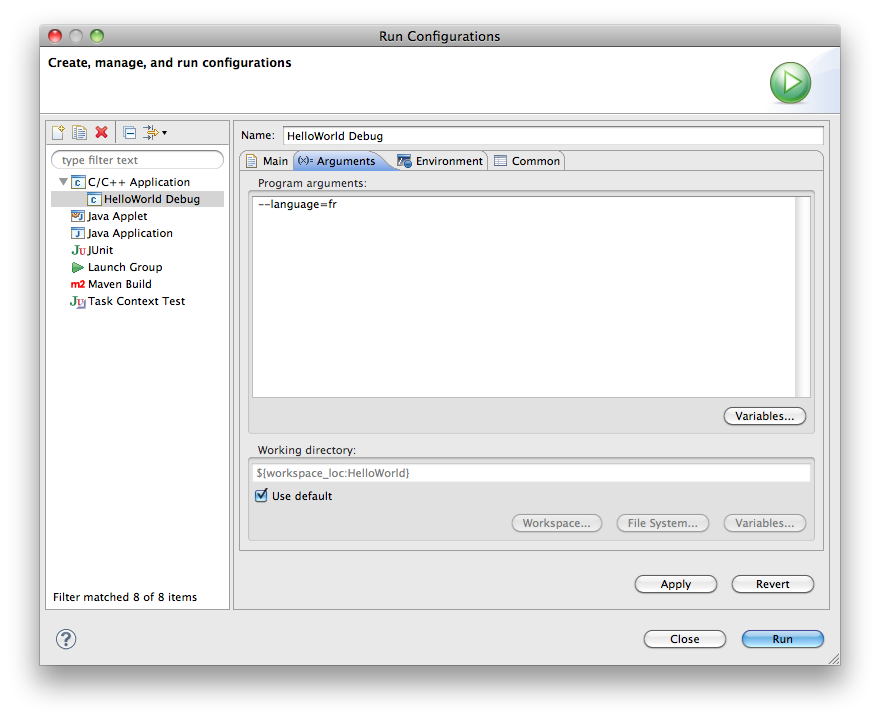
Double-click "C/C++ Application" and click on the "Arguments" tab
In the "Program arguments:" text book, enter "--language=en", "--language=fr", or "--language=ch" to specify the various values that the language CHOICE can take and click Run.
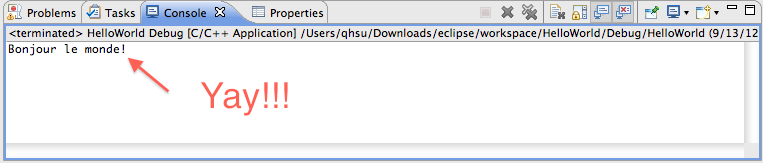
After building the project, you should get the output from the Hello World program!
If you're upgrading to a newer version of the plugin which contains the view, sometimes the view will not automatically be opened.
Getting the view can be done by following this menu path:
In some older versions of the plugin, uninstalling the plugin could lead to an awkward state with regards to the CDT plugin. This has been fixed in the latest version. In the best case, upgrading to the latest version of the plugin should allow you to install safely. However, in the worst case, reinstalling Eclipse will remove this problem.
There is no way for us to make Eclipse weave before compiling. Thus it is recommended that you turn on "Build Automatically" for the project so that every time a change is made to the enriched sources, weaving will automatically occur, thus the compiler will always have the latest sources. To turn on automatic building for your project: